CroppinTrainRetreats@gmail.com
479-531-8518 (between the hours of 9am and 8pm Central
)
Croppin' Train; c/o Dora Poage; PO Box 982; Bentonville, AR 72712-0982


Imagine a weekend devoted exclusively to you and your favorite hobby... SCRAPBOOKING!


Calendar

Wednesday, June 30, 2010

Layout Kits for sale (8 out of 20)

We have been busy creating new layout kits for you. The first few we am posting here are from the last retreat but then we will post the many we created last month. We are so excited about these and hope to get some of our own pictures on them soon.

These kits include instructions (including measurements) and a color picture of the layout. We do not precut the cardstock and paper so that you can adjust it to your pictures, if needed.

These kits are $10 each and we have a deal for you, purchase 5 kits and get the 6th half off.

These are first come, first sold. There are limited numbers of kits available. I will mark them as sold out as soon as I can.


Paradise Layout Kit
Green, purple, turquoise, cream with diecuts and Wine colored rhinestones to embellish.

BackYard Fun Kit
Black, Red and White with cute bug diecuts.


Family Layout Kit
Green, brown and cream. Uses a glimmer mist technique for the ruffle (glimmer mist available at our events after purchasing this kit)


Princess Layout Kit
Pink, black and gray with embellishments and rhinestones.


Fun Fair Layout Kit
White background with greens, reds, turquoise, yellow, orange, well probably all colors. Room for two 4x6 and one 4x4 picture. Includes turquoise rhinestones to embellish.


Floral Frenzie Layout Kit
Yellow, Orange, Pink, Green with white mats. I bright layout.

Christmas Frost Layout Kit
Red, green and cream with wooden embellishments and fiber.


Class Kit from Spring 2010 retreat
Kiwi green and blues. The glimmer mist and screens will be avaiable at our events for those who purchase the kit)

You can pay by cash, check, paypal (we will email you an invoice) or credit card.

Tuesday, June 29, 2010

Life Is a Beach Birthday Card

Here's another birthday card I made recently. I used the Life is a Beach Cricut cartidge for the front of the card. The designer paper is SEI (Juliette) and the card base is SU! (Bravo Burgundy). I LOVE the little flower brads on the flip flops - those are from SU!, too. I cut the image twice - once with each paper, and then cut one apart to piece over the other. I really liked how it turned out. Can you guess what the gift was? :) Thanks for looking! Pat


Monday, June 21, 2010

Cricut - Lacy Labels

I just got one of the new Lite Cricut Cartridges - Lacy Labels; it has some really nice images on it! I used it last night to make a card. Here is the finished 6"x6" card front. I used SU! cardstock - Chocolate Chip, Pretty in Pink, Certainly Celery, and Very Vanilla. I also used the Dotted Swiss Cuttlebug Embossing Folder on the Very Vanilla cardstock.


I used the Scallop label, and cut all three pieces at 3.5 inches.


Then I layered the Pink on top of the Chocolate.


Maybe it's just me, but I thought the pictures in the 'book' were a bit misleading. The 'words' are right, but I think the pictures make it look like (using my cuts as an example) the Pink piece (with the hole-punched scalloped edge)should be on the bottom, and the Chocolate on top of it. In the picture it looks like the holes in the scalloped edge are 'open', and not laying on top of another cardstock. If you see the picture in the book, what I'm saying might make more sense. :) At any rate, I think it's a cartridge I'll use often.

Pat

Football Layout

Well, it looks like Dora and I had the same thought today - we have been very remiss in posting ANYthing the last month. I'm posting a football layout with my grandson - this was their final game of the season. No special techniques on this layout. I used SU! cardstock - Summer Sun and Basic Black. I also stamped a football, with Summer Sun ink. Nothing earth-shattering, but I wanted to highlight Joseph in the pictures, so I used punches to make a 'circle highlight'. You can do this with any punches of graduated sizes. Always punch your smaller punch first, then eyeball line up the larger punch, and punch. You can really see it on the second page - the top picture on the left. Unfortunately, the light caught that picture, but it does show the circle highlight quite nicely. A pretty easy technique, but very useful!

Pat


Sunday, June 20, 2010

Where is it....

Where does the time go to? OMG, we haven't posted since May and now it is mid-June. What happened. Everything is such a blur to me - so fast. Tomorrow I get to scrapbook and stamp all day, so I will have new things to post :)

Dora

Sunday, May 9, 2010

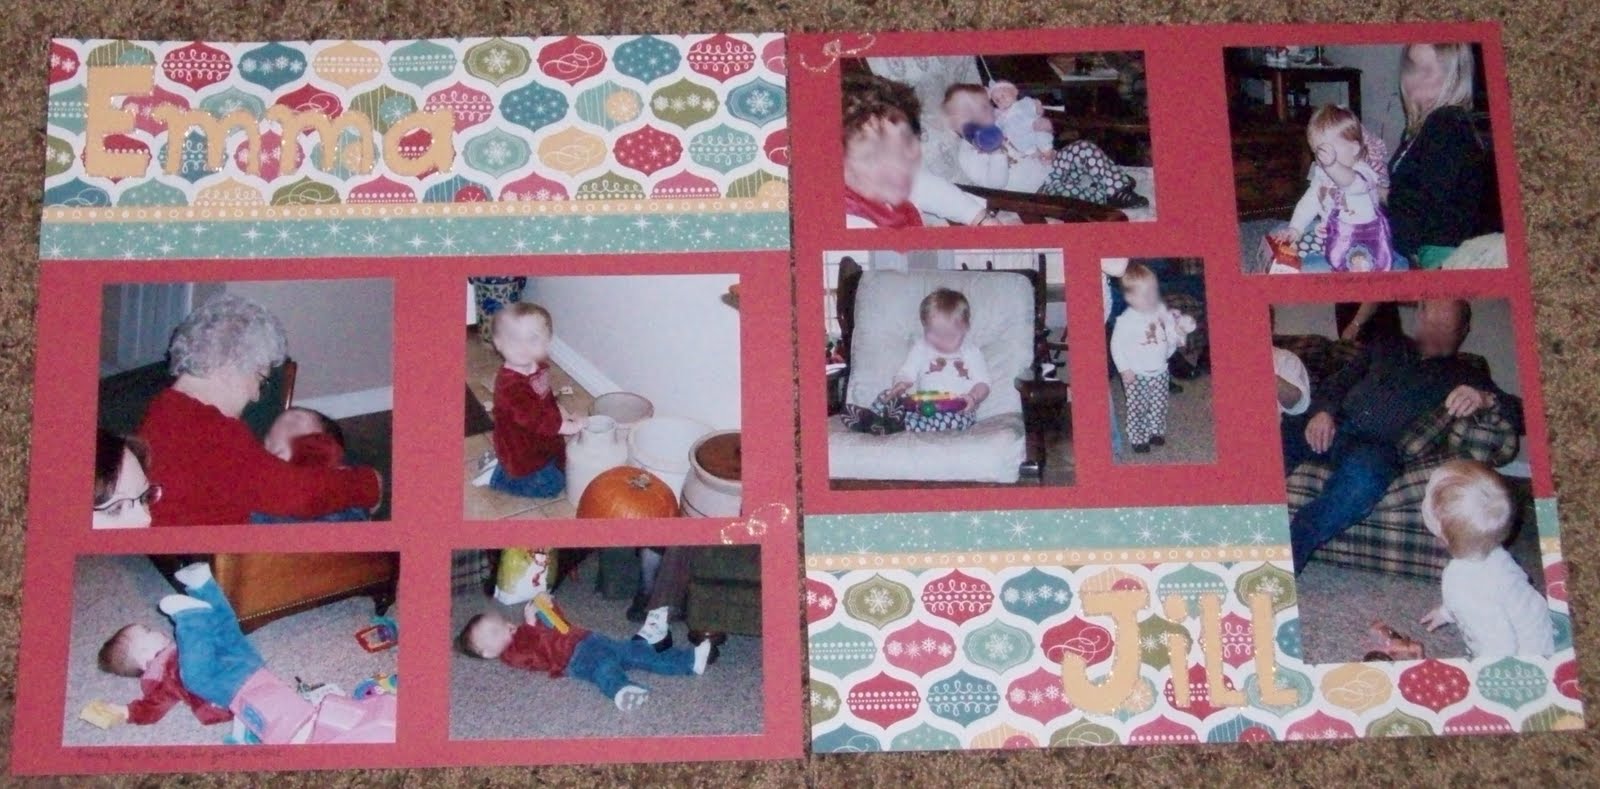
more Christmas pages


I cut the names using the Cricut then I outlined them in Stickles to make them stand out. Really not much else special about this page, but another layout done. That is what is important.

(faces blurred to protect the innocent :O)

Monday, May 3, 2010

Glimmer Mist Sale

We have the following colors of Glimmer Mist for sale for $5.40 each (includes 8% tax). Buy 5 and get free priority shipping. Buy 8 and get the 9th free plus free priority shipping.

Besides getting great new colors of glimmer mist and/or restocking your empty bottles of your favorites, there is an opportunity for a prize. The info is on the original email notifying you of this sale. (just too much to put on here.)

Go to http://www.mytatteredangels.com/ to see the colors.

If there is a season and year after the name, that is when it was available. So it may not be on the website site anymore. Let me know if you cannot find one and are curious about the color.
Don't delay - we only have 1 to 3 of each color (I will delete the colors as they are sold out)
At this Fall retreat, I will demoing more ways to use glimmer mist to create your own embellishments. I will have a beginners demo and an seasoned demo. But of course, everyone is welcome to attend both.

(Payment note: email us your order at croppintrain@aol.com and we will email you the amount you owe and hold your order until payment is received. You can mail us a check or we can send you a paypal invoice. )

We have two limited edition colors at the bottom of the list - they have different pricing but can be part of this sale.

Aspen Yellow
Auburn - Fall 08
Black Gold - winter 08
Black Cherry
Cherub Pink
Cinnamon - Fall 08
Coffee Shop
Coral - Summer 08
Cranberry Zing
Carribbean Blue
Chocolate Covered Cherries
Copper
Coral Reef
Crushed Shells
Dazzling Diamonds
Frost
Frozen Lake
Gingerbread -Winter 07
Gold
Golden Terracotta
Haunted Shadow
Harvest Orange
Juniper
Kiwi - Summer 08
Lavendar Wisp
Lemon Grass
Marshmellow
Merlot
Moonlight
Mustard Seed
Old Lace
Olive Vine
Oriental Poppy
Pashmina
Peppermint Stick
Pink Taffy
Popsicle
Raven
Red Maple
S.W.A.K
Sage - Fall 08
Sand
Sapphire
Simply Khaki - Fall 08
Slate
Snow Angel - winter 08
Spanish Moss
Spring Mint - Spring 08
Spring Violet
Suede
Sugar Cookie -Winter 07
Sunshine
Sweet Clover
Tattered Rose
Tuscan Sun
Twilight - Fall 08
Walnut Gold
Watermelon - Summer 08
Waterslide
Wheatfields
Wild Currant - winter 08

Limited Editions ($6.75 each including tax)
Lucky (from St. Patrick's Day - great green - used on layout kit at Spring retreat)
Pieces of Heart ( A percentage of proceeds from this unique color will be given for autism research)

Another Christmas layout

I am still working on Christmas layouts. I only have two years left then I will be caught up - On that holiday anyway :o)


I did pleating down the left side and near the bottom of the right page. It is quite easy and I like the effect when I need some texture. The green envelope on the right page will hold a small CD with the video of the cat playing with the box. It was so funny yo watch her. It ws like she was on a treadmill.

Tuesday, April 27, 2010

the other two cards

Ok, my scanner is up and running again.

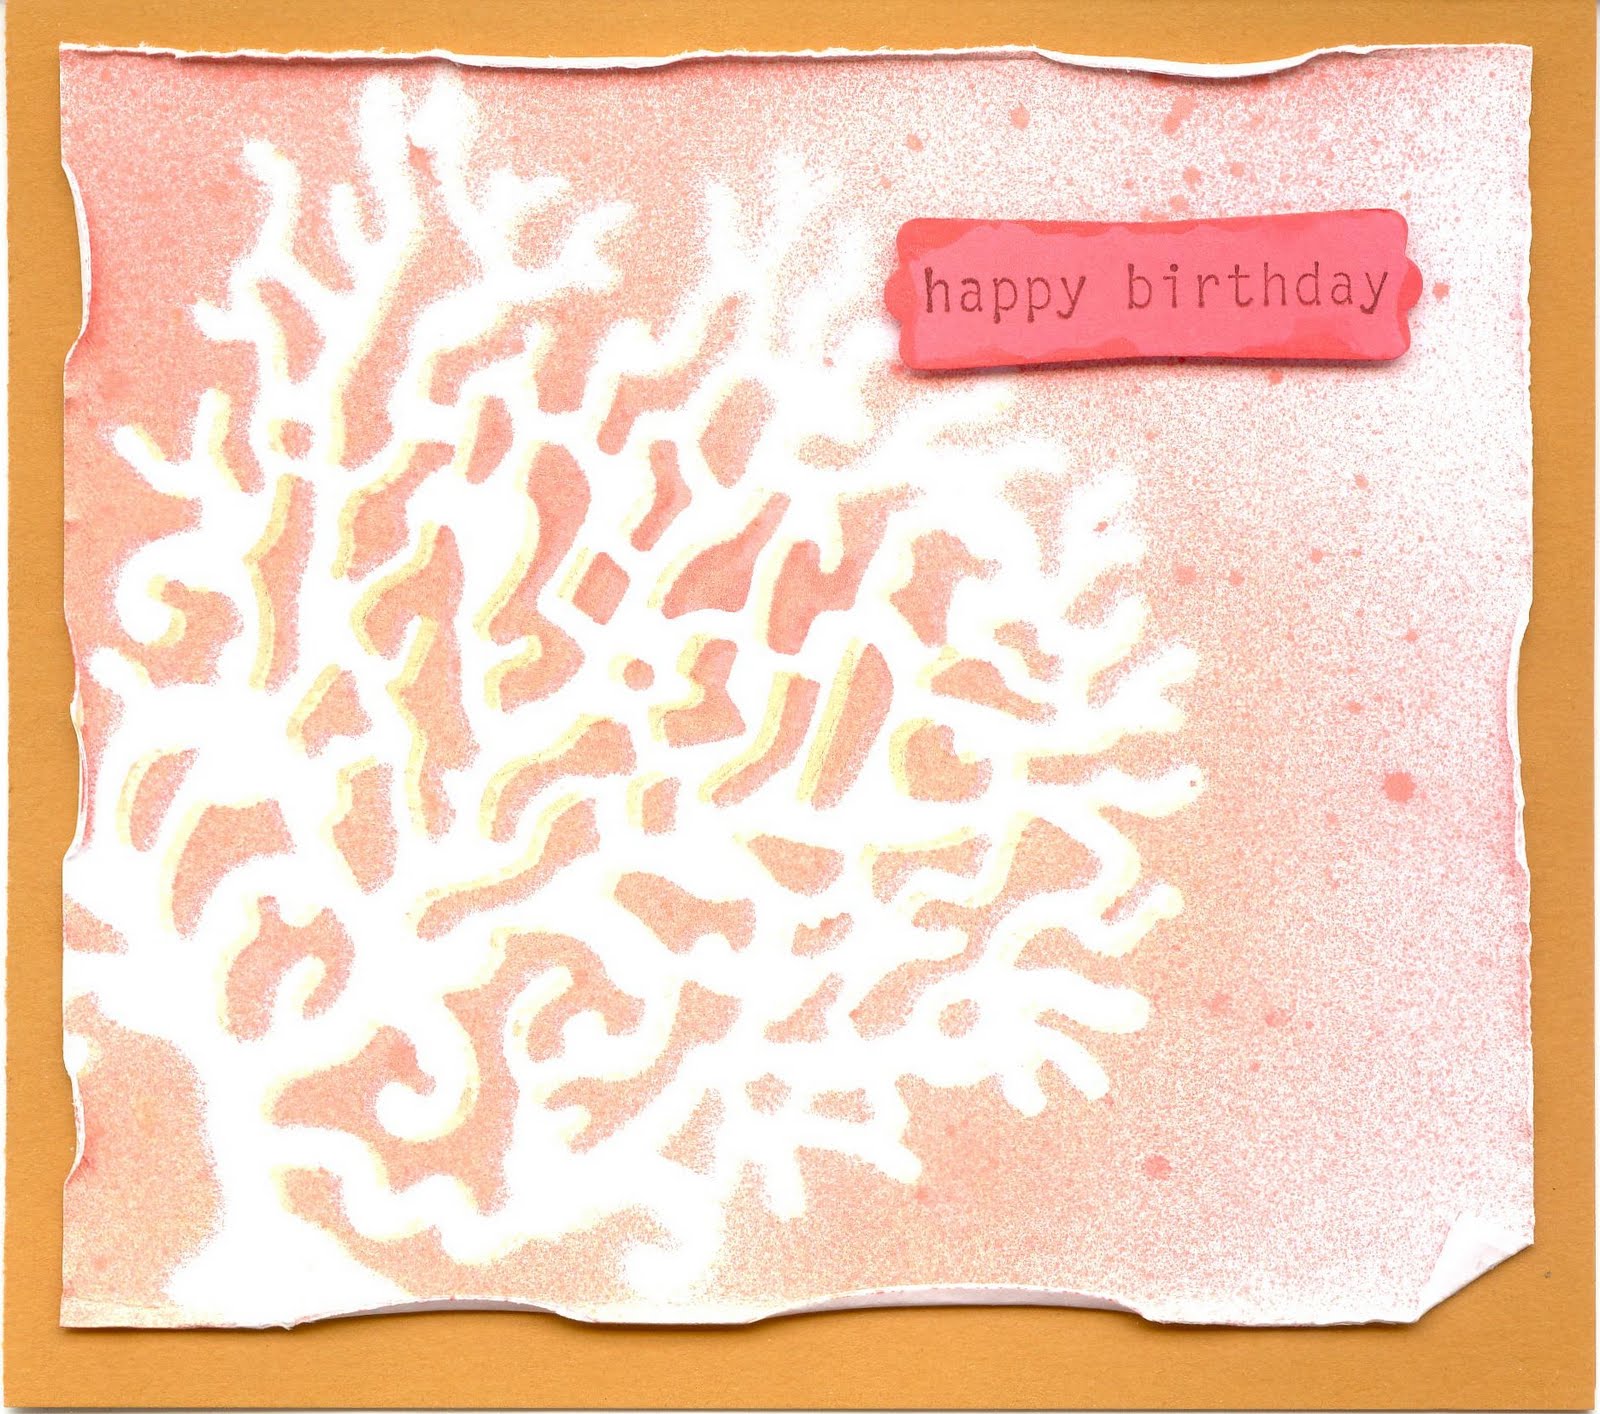
For this card, I placed the coral screen on the white cardstock then misted with Coral Reef GM. As I was picking up the screen, I dropped it back on the cardstock. It landed in a slightly off it's original placement - so I left it there and used the Crushed Shells GM. It created some dimensional to the image. I think it is super hard to see in this scan. I then roughed up the edges of the cardstock and adhered to a mustard cardstock card. I used a punch for the greeting and ran the edges in the mist that was on my mat.


For the Seahorse card, I sprayed Crushed Shells on white cardstock. Then I placed the screen on a paper towel (you can also place it on your mat) and I used Pieces of Heart and Lucky GM to coat the screen. Then I picked up the screen and held it, mist down, for a few seconds to allow the glimmer to move to the bottom, then I "stamped" it on the cardstock. I used tweezers to ensure I got all the image stamped. (Note: if you wait for the Crushed Shells to dry, the seahorse will be sharper/crisper. I don't wait and as a result get more of a watercolor look) I then stamped a greeting with brown staz-on and adhered it to turquoise and teal cardstock.I REALLY want to go to the beach now.

Sunday, April 25, 2010

Cards with new product

I finally got to play with some new Tattered Angels product we have for sale. It is the new Seaside collection. I love it - I love the beach.

The first one is with the sand dollar screen from the "Under the Sea" set. I used a new color "Pieces of Heart" (see previous post about this amazing color) First I placed the screen on the cardstock then used the Pieces of Heart GM. Then I used some tweezers to pick up the screen and then I stamped with it twice on the top and right edge. The shimmer in this mist is so pretty. I wish you could see it in the picture. Where the stamped sand dollar seems dark - that is actually glimmer. (the blue is a little darker in person)

For this card, I sprayed Sand GM on white cardstock. Then I placed the sea oats screen from the "On the Beach" set and used the Pieces of Heart GM. Then I inked the sea oats stamp from the "Coastal Breeze" set with Brown Stazon. Next I ran the edges of the cardstock in the sand GM I had on my mat.

After I made the card above and before I cleaned the screen, I sprayed a little Lucky (another Limited Edition color) on the screen in three places. I then flipped the screen over, held it in the air for a few seconds to allow the glimmer to move to the surface, then I placed it on the white cardstock. I used the tweezers to ensure it was "stamped" down in all places. When I lifted the screen, I held it above my cardstock and tapped the back with the tweezers to get the dots splatted here and there. The scan doesn't show the Lucky very well. It is in the bottom left and on the tips of the sea oats
I have two more to share, but my scanner has went to bed for the night - I guess. So I will try again after class tomorrow.

We have these products for sale - email us for info.

Thursday, April 1, 2010

Glimmer of Hope

My favorite company/product has done it again. They have created a new Glimmer Mist in honor of Autism Awareness called “Piece of Heart” representing the “puzzle pieces” that Autism Awareness is known for as well as for the beautiful of art/heart that each child represents.

This limited edition color will sell exclusively on their site for $5 and part of the proceeds for the sales will go towards Autism Speaks .

Check out their story here: http://mytatteredangels.com/educators/?p=827
Buy it here

Monday, March 29, 2010

THANK YOU!!

Thank you to EVERYONE that attended the Spring 2010 Croppin' Train Scrapbook Retreat! We had some new faces at this Retreat, and I think we were able to visit with both new friends and old. As we walked around and saw your layouts, we were just blown away. You all are such talented ladies! We saw several people making cards this time, too - cards and scrapbooking are a great combination. We will be posting some pictures of the Retreat, along with winners of the layout contest, and the grand prize winner, over the next few days. We just wanted to take a few minutes today to thank everyone for attending the Retreat. We hope to see each of you again at a Croppin' Train event!

Sunday, March 7, 2010

Update

We have been busy creating layout kits for the Spring retreat classes. We are very excited about them and hope you feel the same way once you see them. The Spring retreat will be here before you know it. We will have two cricuts set up for you to use. Plus hundreds of stamp sets and tons of other tools. We will demo glimmer mist again. We will have some new colors of glimmer mist as well as extra Marshmellow (white). We sold out last retreat and hope we have enough for all who missed out. The newest products from Tattered Angels will not ship until retreat :( so we will post them on this blog for sale with project ideas as soon as we can after we receive them.

We also have Duck adhesive for sale, as well as Zots Glue Dots and the adhesive refills for the Glue Glider Pro.

I hope to get a layout to share with you on this blog within a couple of days. Keep watching...

Sunday, February 7, 2010

Christmas Layout

I have been working on Christmas layouts the last few times I was able to scrapbook. I am trying to get caught up on one holiday...

This was a kit I purchased and altered to fit my pictures. On the left side, I pleated paper which was a lot easier then I thought it would be. On the right side, I attached some 6x6 page protectors so that I could add many pictures. There is also a pull out photo mat under the 6x6 pages. All in all, this two-page layout has 11 photos.

Sunday, January 31, 2010

Static Curls


This layout I started with a white cardstock base, which is NOT normal for me. But thanks to glimmer mist and needing to make my own background paper, I have been doing it more and more.

I used Lemon Meringue, Candy Apple Red and Raven Glimmer mist to spray from the bottom corners. I used the "Center of Attention" Masks that we sold this last retreat for the title. They are reusable and so perfect for paint, ink, and of course glimmer mist.

I love how the glimmer really shows up in this picture.

(My brother has a thing about me posting pictures of my nephew so I had to fuzz his face. Even though you would never recognize him now, I still respect his wishes)

Wood Flourishes, Glimmer Mist and Stickles

This is a Wood Flourish made by Kaisercraft. (love them) They are just as thick as chipboard but sturdier because it is wood. Anyway, this is one shape out of the set. I sprayed it with Olive Vine Glimmer Mist. It soaks up the GM so well.
Then I used Candy Candy and Platinum Stickles for the ornaments on the tree. Goldenrod stickles is on the star.
The layout I made this for is not finished, but I wanted to share this embellishment with you. It sparkles so, so much. I wish the picture would show you the sparkle as well as it is in real life. Oh well, you will have to come to the Spring retreat to see it in person. :)